Crafting with Children – How to make a Hair Wreath

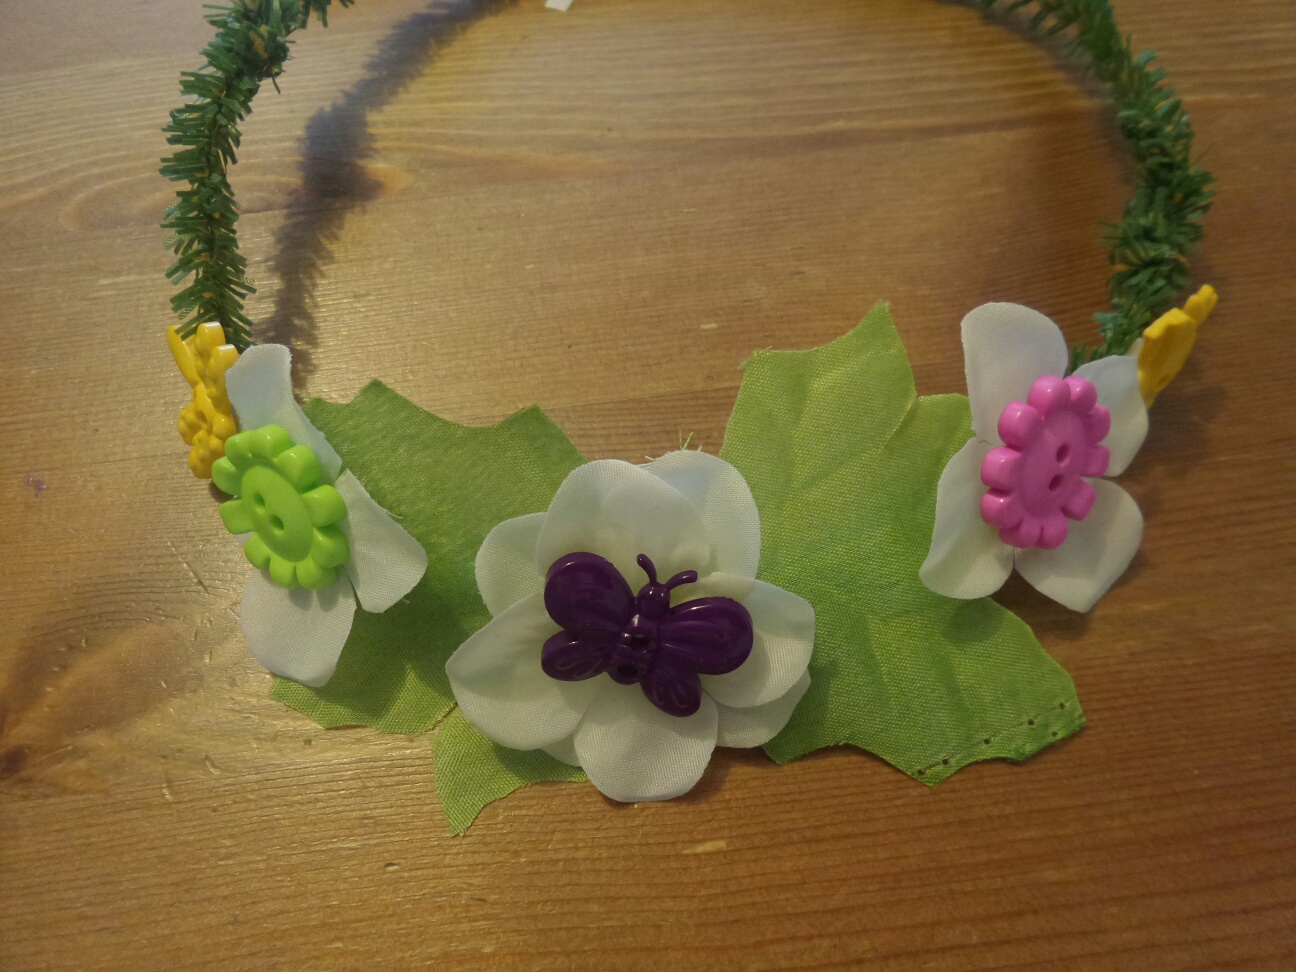
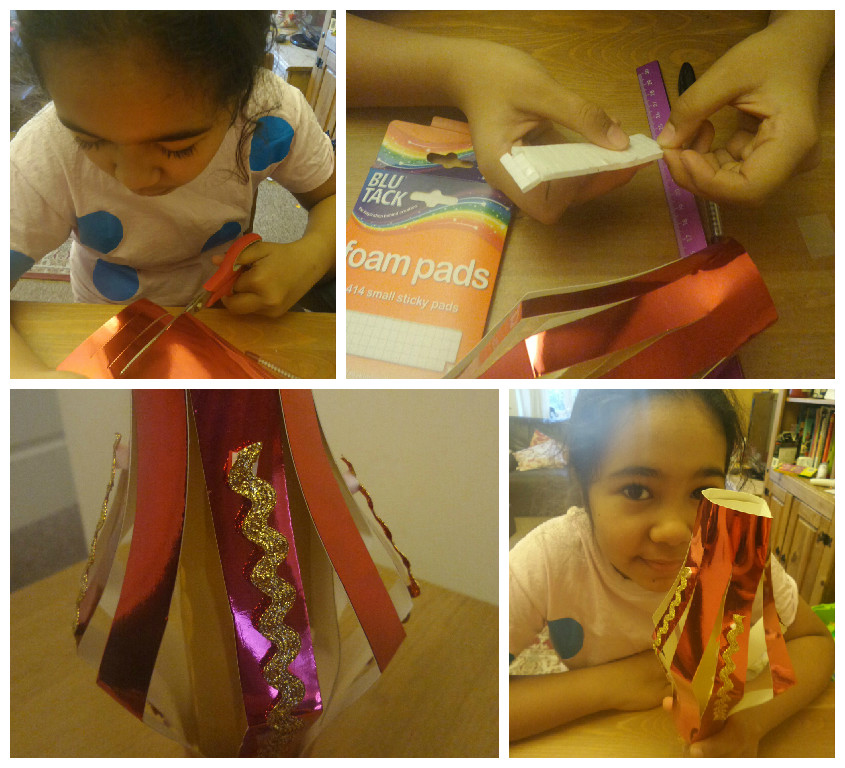
This month gave us extra time to get crafty as Bostik Craft bloggers and instead of just the one post – there are two. Wow, are we getting better at crafting! It probably has to do with the summer weather  – being so unlike summer that we are stuck indoors. Perfect for crafting and spending quality time together. We made some summer postcards based on the outdoors theme and we also created this lovely wreath that is perfect for wearing to a summer festival or for dress up days in school – Greek dress up day for one. To make …

Read more

Summer Craft – How to Make Summer Postcards

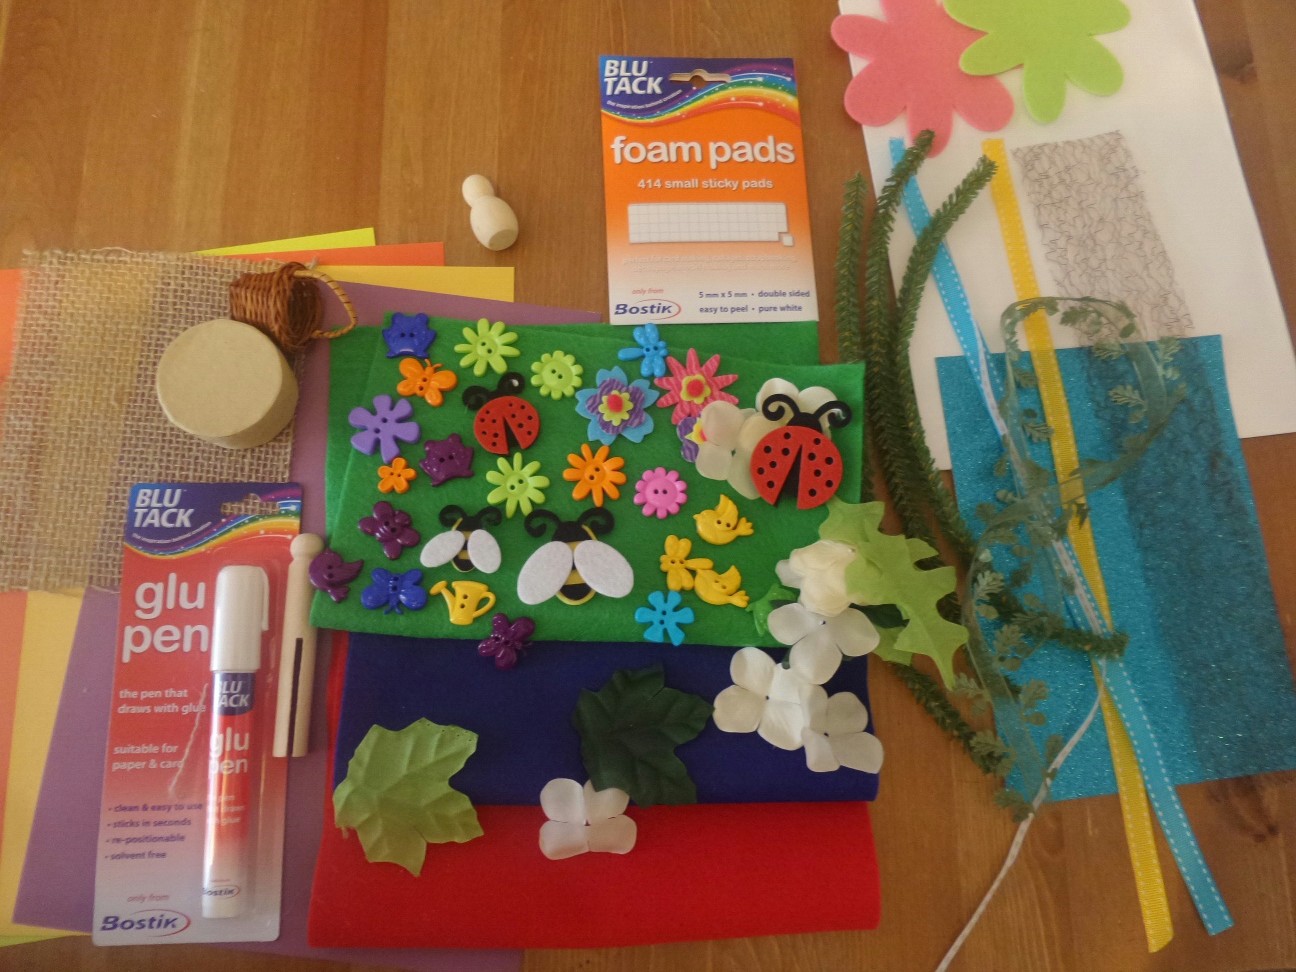
We love crafting – it’s making the time to do it that’s the difficult bit. Being Bostik Craft Bloggers ensures that we carve out some time to get creative and make some crafts that are easy and look great too. This month we were sent a box of craft goodies with the Outdoors theme. There were so many lovely things in there that we couldn’t quite decide what to do. Finally, we decided to make some summer postcards that the children could send to their friends or relatives which incorporate the outdoors theme. We also make a lovely summer wreath …

Read more

Bostik Craft Blogger – May 2015 – Scrapbooking

As part of being a Bostik blogger, we were sent this lovely craft set to Scrapbook. I used to love scrapbooks when I was young and I find them an excellent way to create memories. It is also an excellent way to learn – go on a nature walk and collect things for a scrapbook? We decided that as it’s Father’s Day soon, a good thing would be to make something that he could keep as a memory. To make this picture frame, you need, Foam sheet Lolly Sticks Bostik Glue and glue dots Decorations Glitter pens It is really …

Read more

3D Ocean Scene – April Crafts – #BostikBlogger

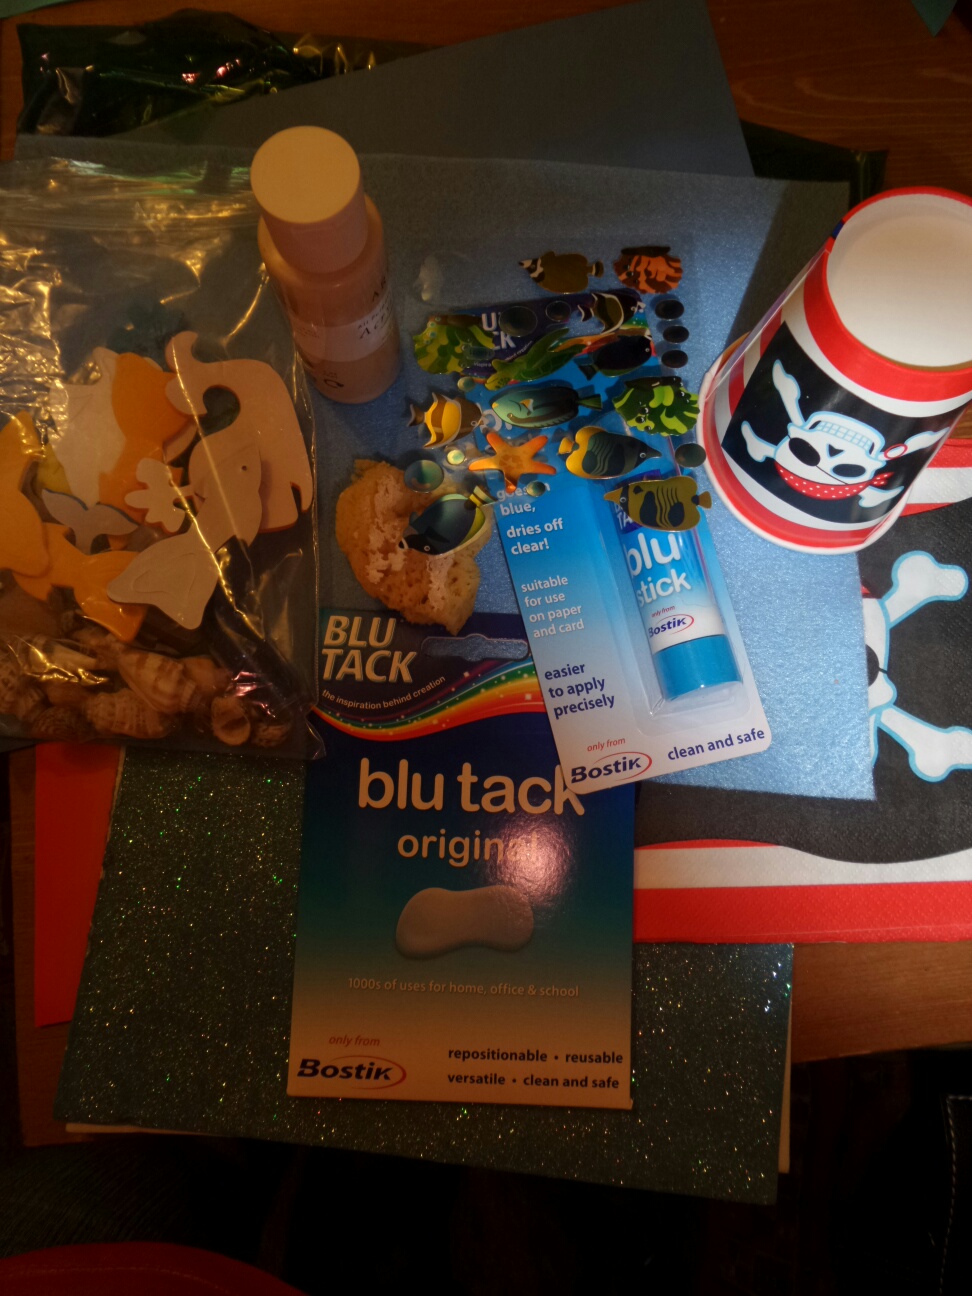
This month’s Bostik craft box was very apt. We had just been to the seaside for 5 days. It was amazing.
20150417_165552_resized_2

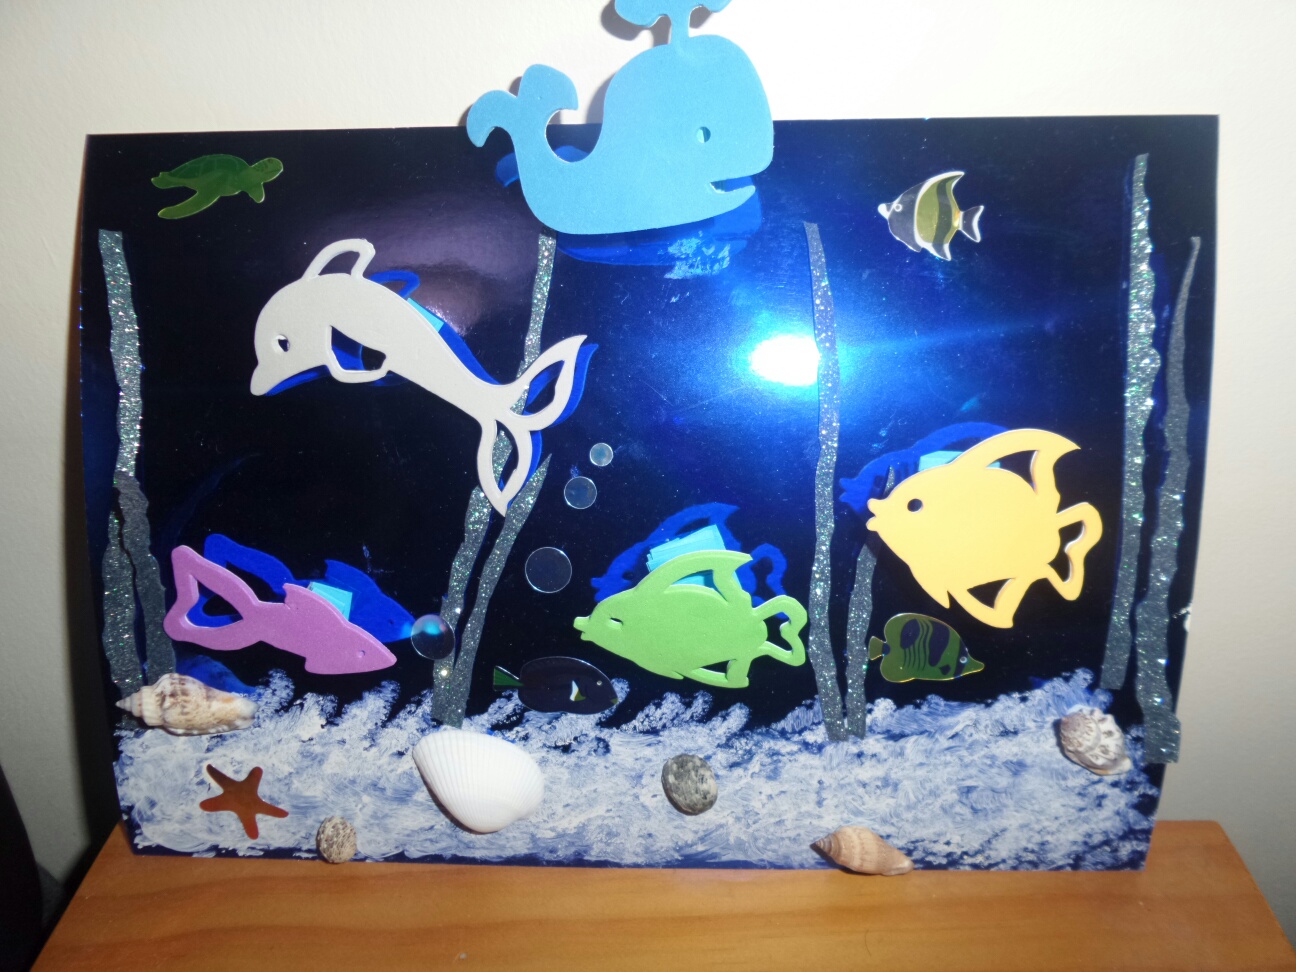
We decided to use our lovely craft supplies to make a 3D Ocean scene and a porthole ocean seen.

To make the 3D Ocean scene you will need-

  • blue card preferably dark blue
  • Paint- the colour of sand
  • craft paper in blue
  • glue
  • fish – you can get the cut outs or draw them yourself
  • green card for seaweed

April - ocean

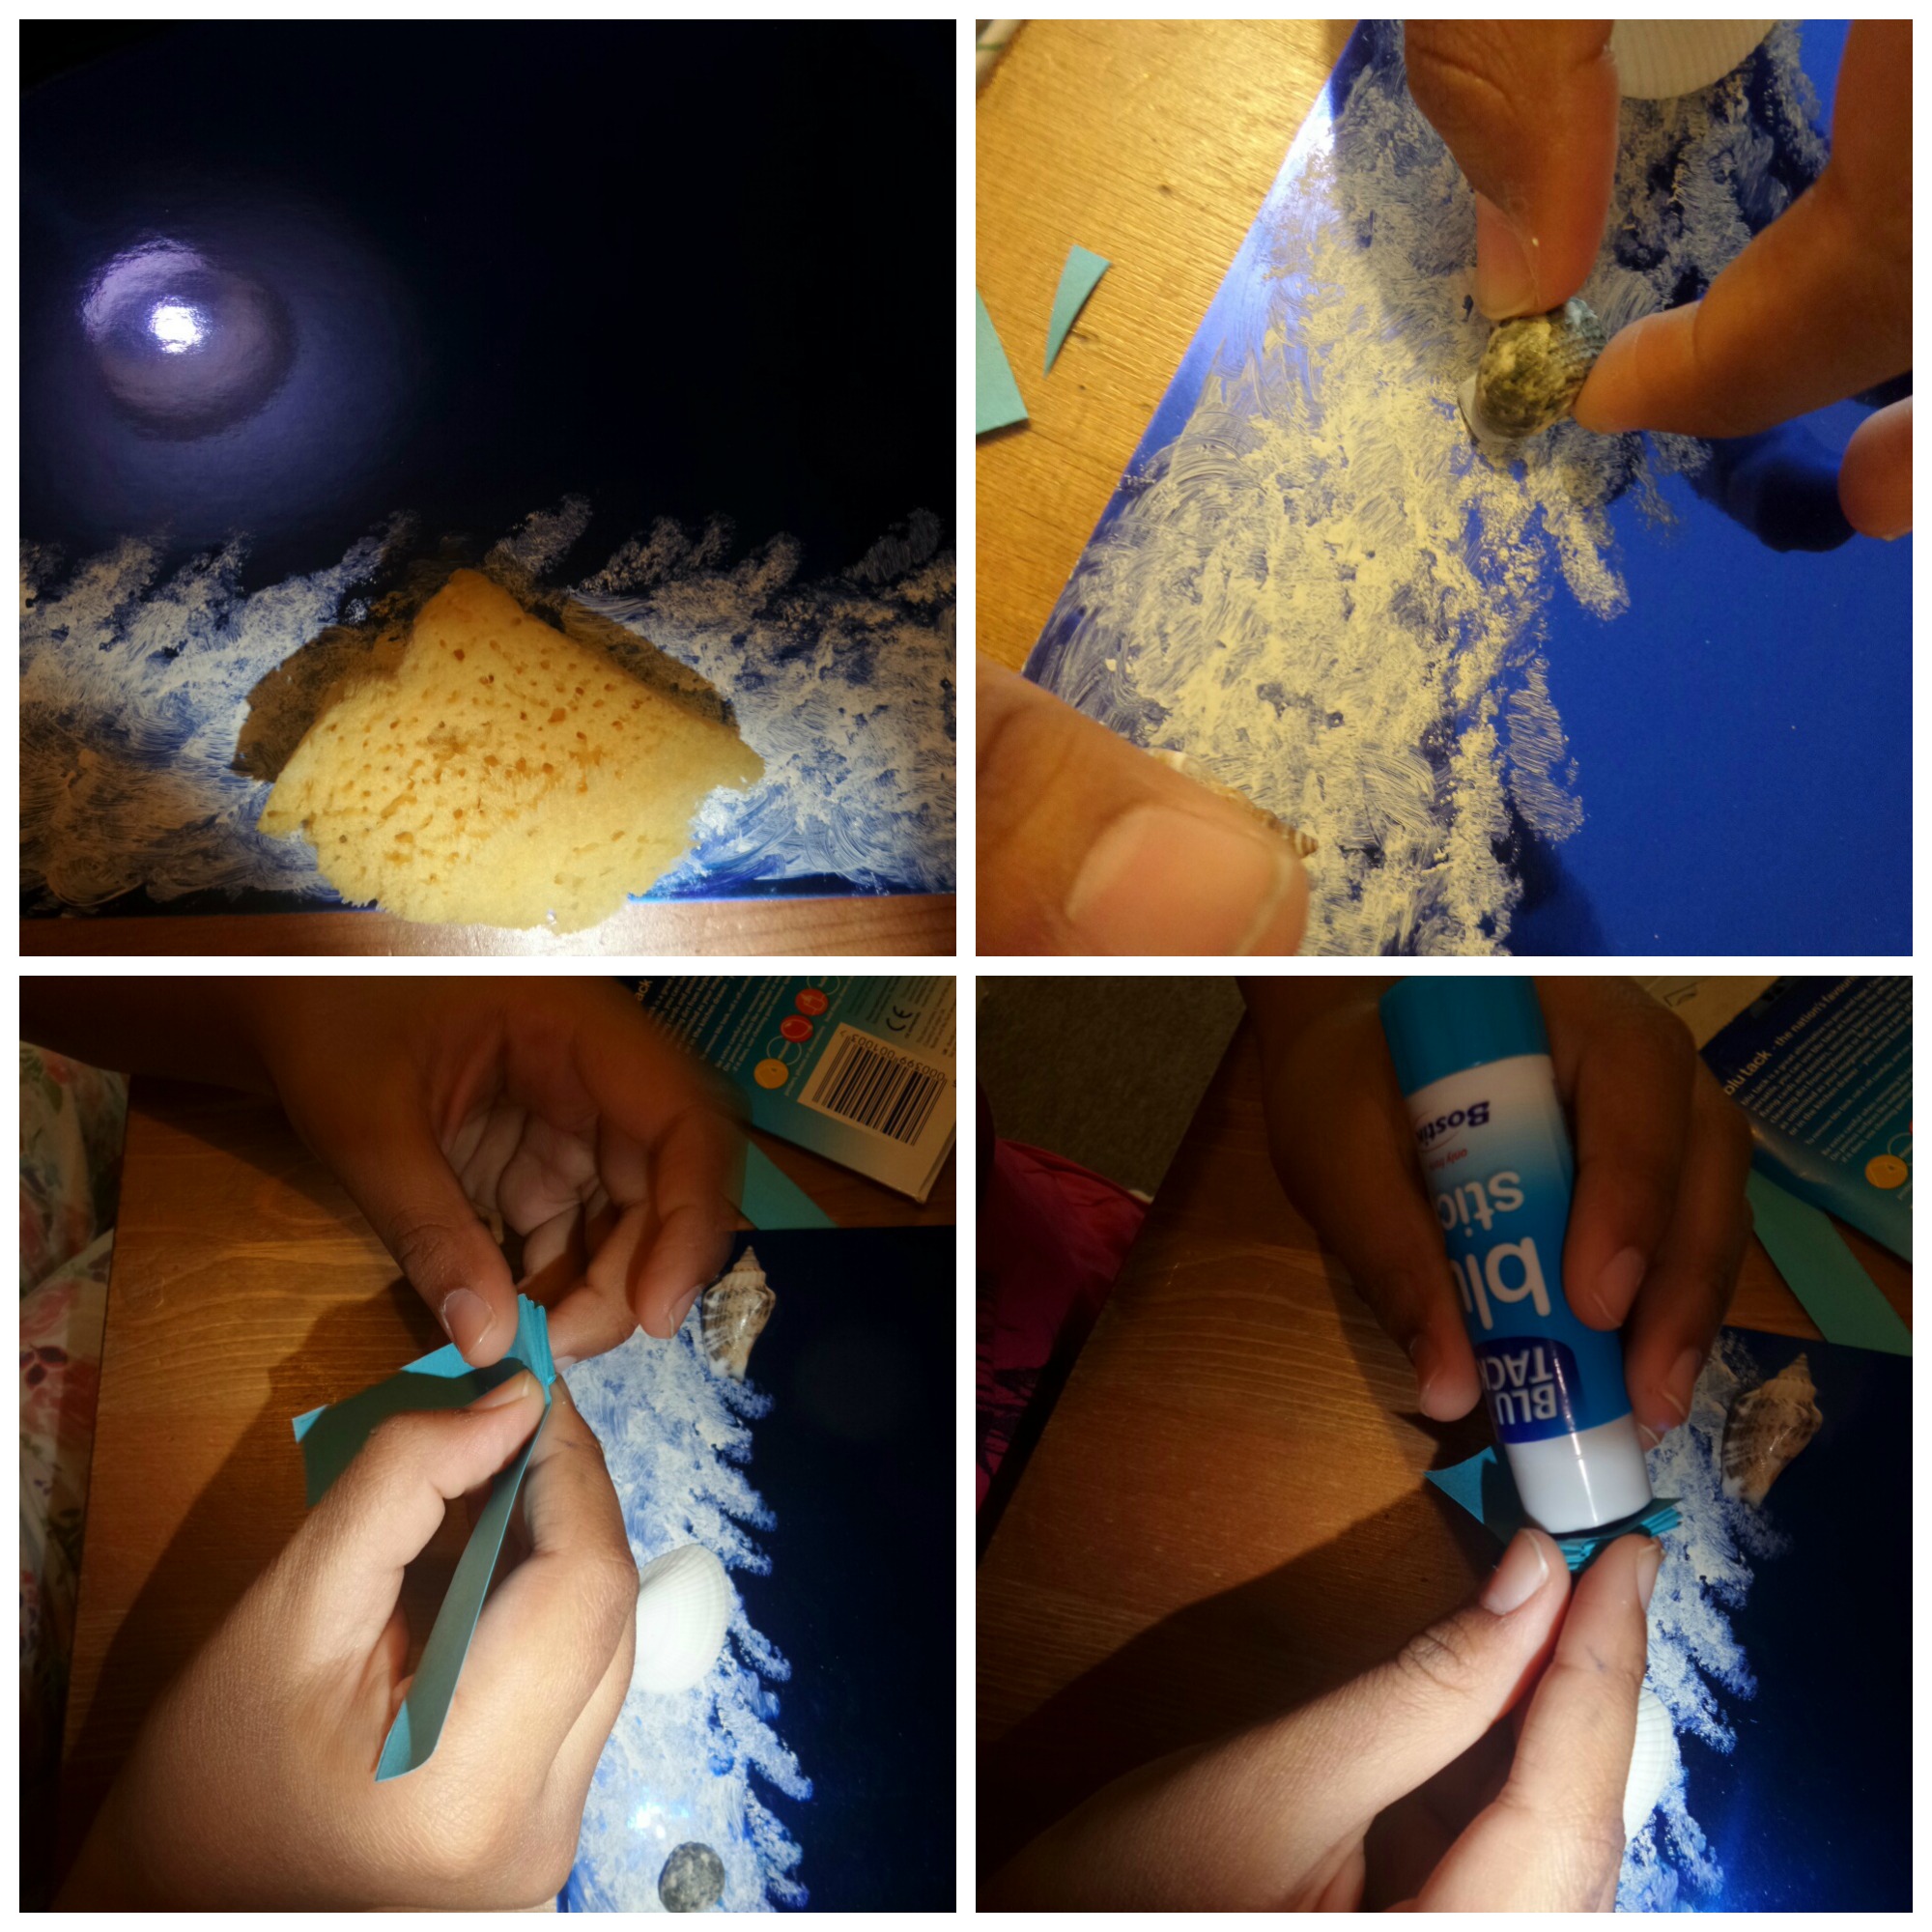
First paint the sand on the card. Use a sponge as this gives a great effect

Make the ‘spring’ for the fish. Use two strips of blue craft paper and make a paper spring. To do this arrange the the two strips at right angles. Then fold one over the other to form a square shape. Keep on till you reach the end of the strips. You should have a paper spring at the end.

Stick it on the card where you’d like to place your fish.

Use green card (glittery ones are a good idea or you can use glitter on a card) and cut out sea weed shapes and stick them on to the blue card.

Stick some sea shells onto the sandy area.

april- ocean1

Stick the fish onto the springs.

The result is a lovely 3D pop up effect scene.
Ocean Crafts
3D Ocean Scene


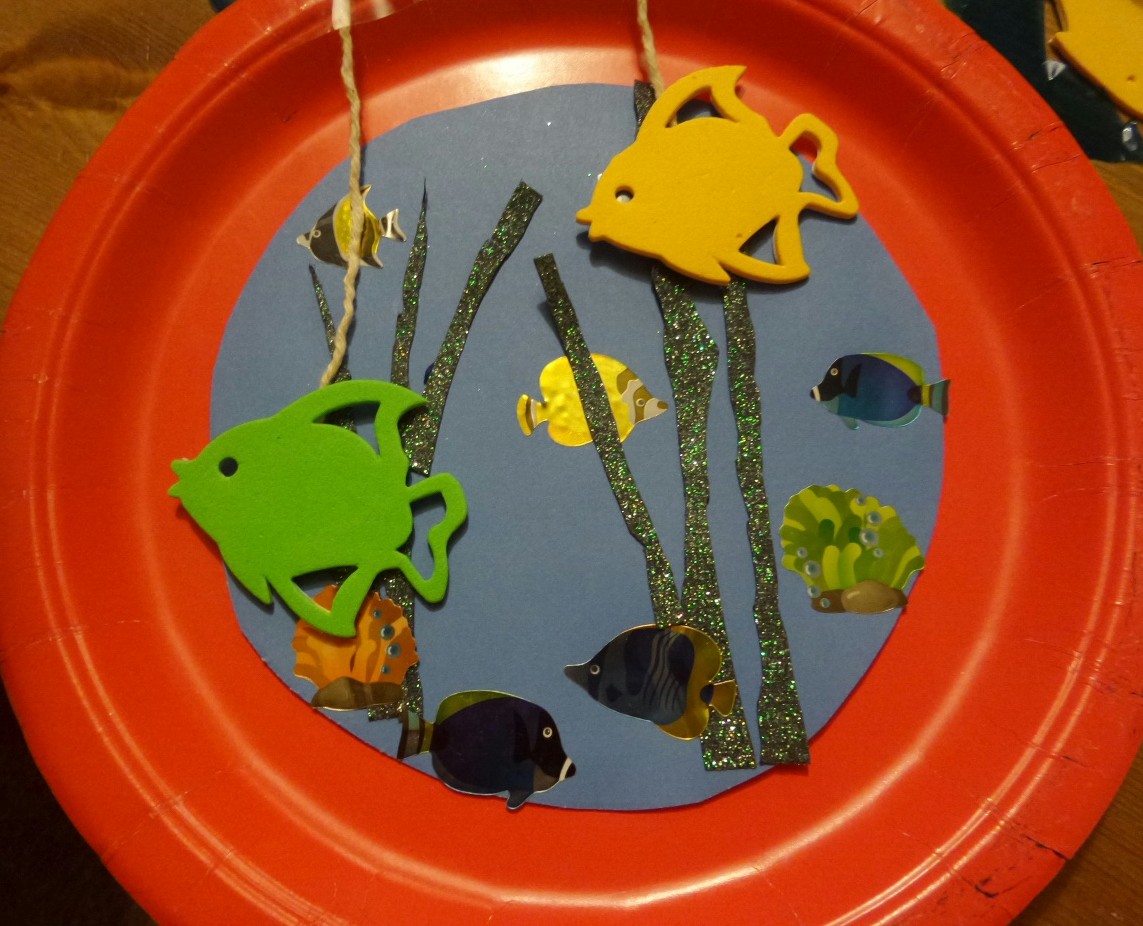
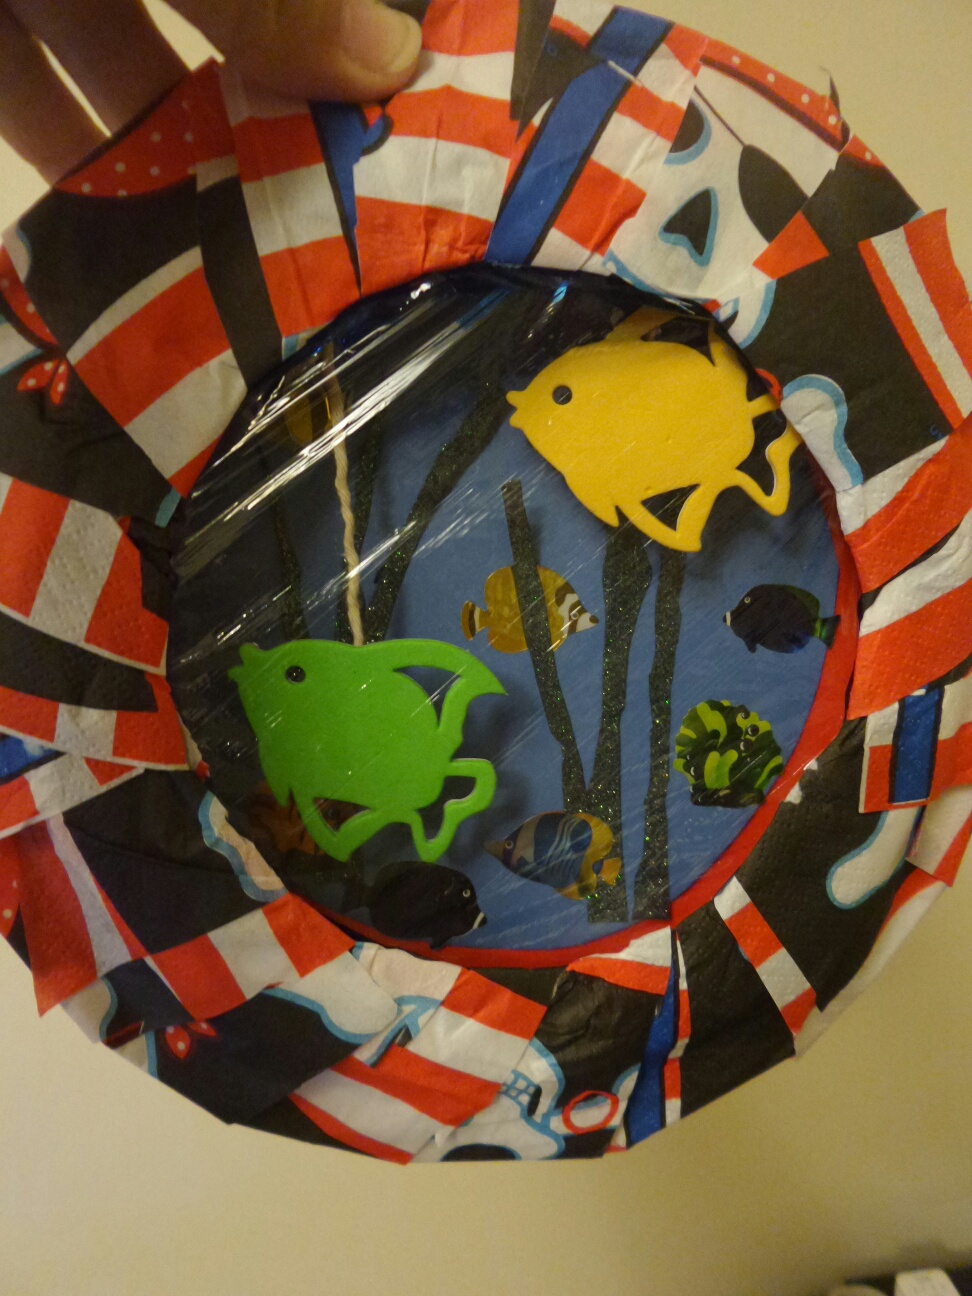
We also made a lovely porthole ocean scene. It’s meant to look like what you would see when you look out of a porthole on a ship.

You will need –

  • 2 paper plates (preferably in blue)
  • Green card
  • Fish shapes or you can draw them out
  • Fish stickers
  • Glue
  • String

Cut out a round shape in one of the paper plates (the area where food is normally placed)

We used our pirate napkin to wrap it around the edge of the plate but you can skip this step if you like.

Stick some clear cellophane onto this. (You will be sticking this onto the side on the plate you normally eat on.

If you are using a blue plate then you don’t need to do the next step either but if not then you need to cut out a round shape of blue card about a cm larger in  size than what you cut off from the plate.

Stick this onto the other plate – onto the area where you normally place food.

PicMonkey Collage

Stick green paper cut into seaweed shapes onto this area and any other fish stickers you would like to add.
20150420_204214_resized

Next, take the fish shapes and attach one end of the string onto the back of it with sticky tape. Then allow it to hang down onto the plate and attach the other end to the back of the plate. Do this for as many fish as you would like to add. (Probably 2 – 3 will be enough). Use different lengths of string so they seem to be swimming at different levels.

Now glue the plates together, both facing frontwards (the side you eat the food on should be facing each other)

You have a lovely little porthole ocean view. The strings allow the fish to bob about.


20150420_204435_resized

Disclaimer: I received a crafting box from Bostik as part of the Tots 100/Bostik Craft Bloggers Club.
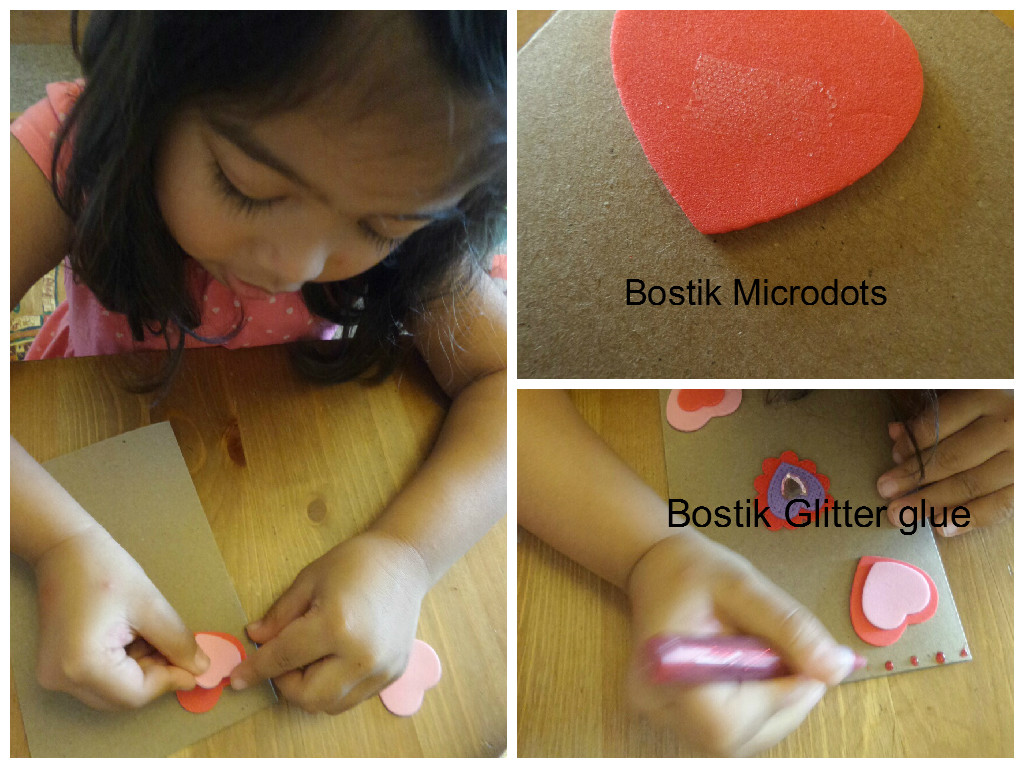
Valentine’s Day Photo Frame

Valentine’s Day – a day for love and chocolates and cards and gifts and…crafting. The children are quite enthused about crafting. This is only the second box as part of the Bostik Craft Bloggers Club we have received but the moment one comes in they are brimming over with ideas. Some are wild and very complicated so I have to step in with an air of calm and get them to do something more traditional. We received a box from Bostik for our February activity and it had to be about Valentine’s Day. We decided to make a little photo …

Read more

Chinese New Year Bracelets – Bostik Craft Blogger

I have been chosen this year to be a Bostik Craft Blogger and this is the first box I received. We love crafting at home but I honestly don’t do as much as I would like to with the children. Being a Bostik Craft blogger will ensure that we spend time away from our gadgets and get creative. Chinese New Year has special meaning for me. My mother was Chinese and we celebrated some traditions with family and friends. One of my earliest and best moments of Chinese New Year was the wonderful 10 course(at least) meal, we would have …

Read more

Follow

Get every new post delivered to your Inbox

Join other followers:

%d bloggers like this: